Description
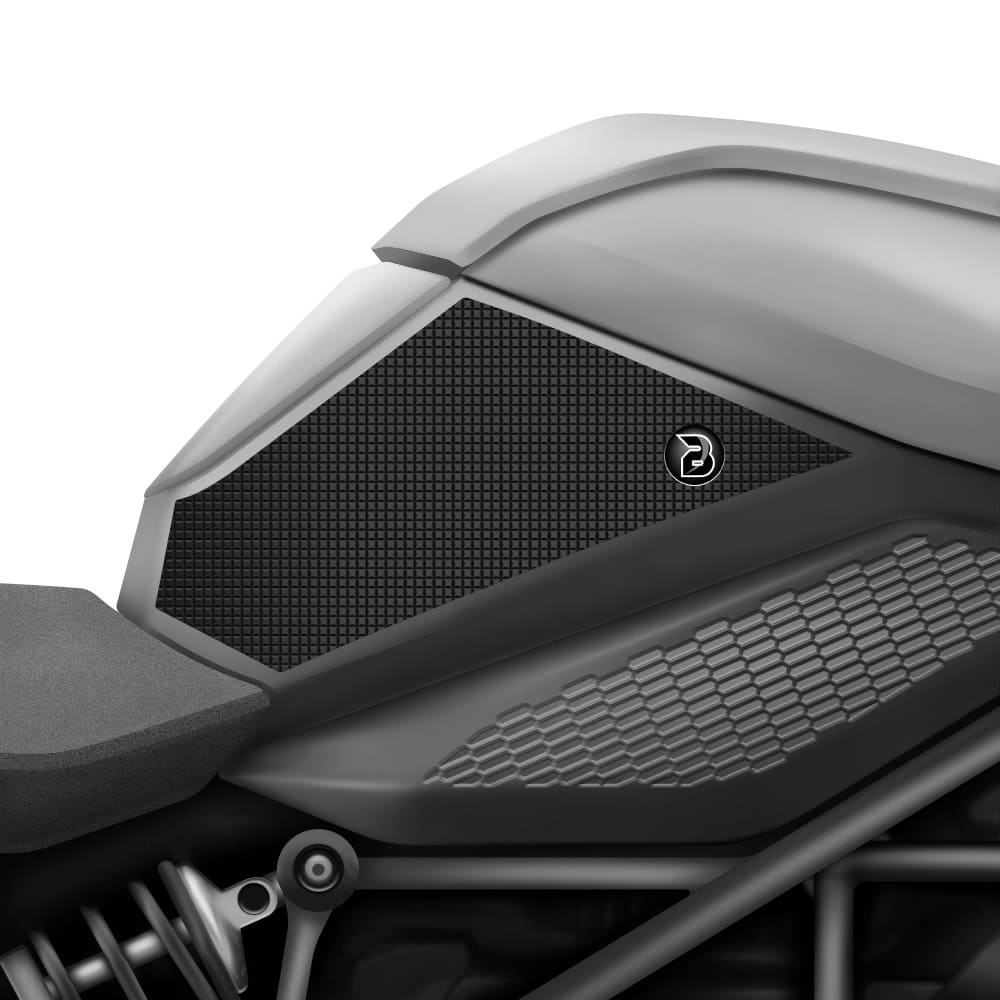
BLOQ tank grips are designed by us and made right here in the UK. We use the actual motorcycle to create our templates, which means we create the best fitting, most functional grips possible. Our tank grips are suitable for everyone from the daily commuter, adventure bike rider, track-day enthusiast or world-class racer. They increase control, reduce fatigue and improve your overall riding experience. They also look great and also protect your fuel tank from scratches/marks.
BLOQ Tank Grips are now available in our Tacky Grip material.
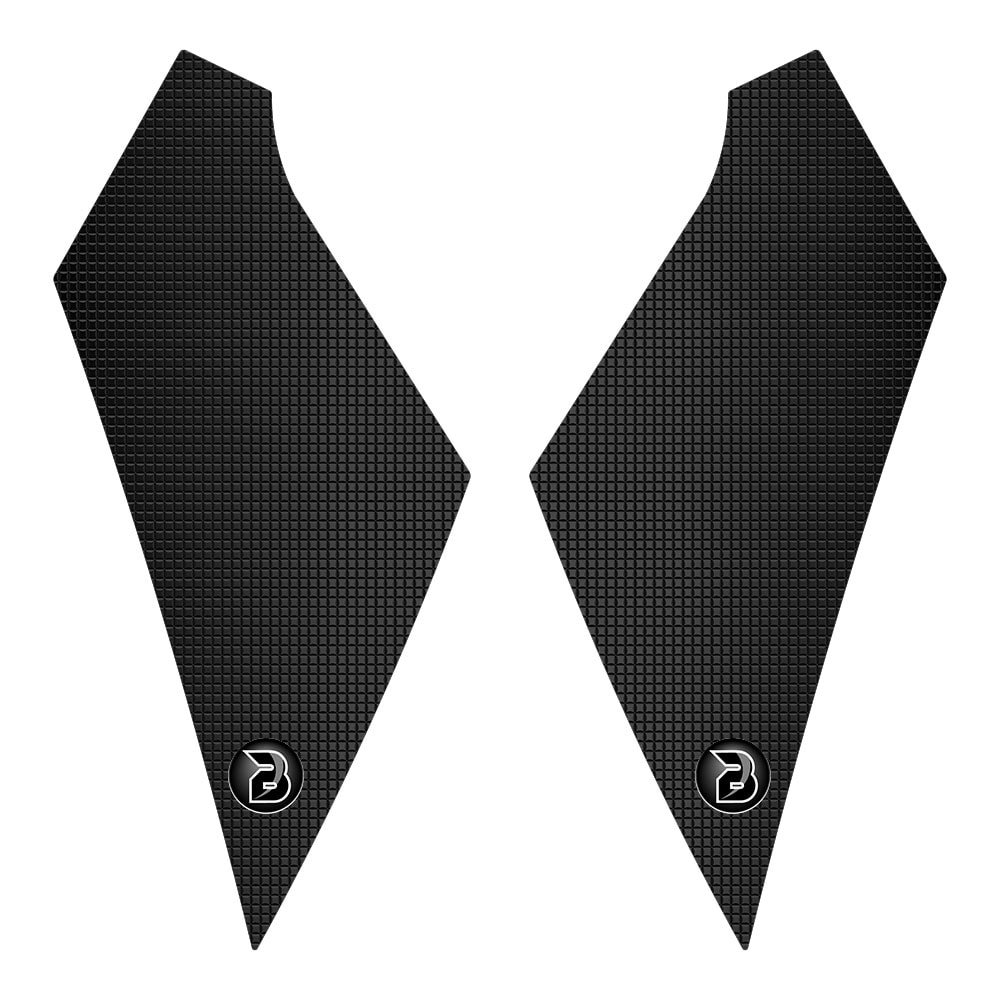
Our Tacky Grip tank pads are hand-made from our low profile, Tacky Grip material. The non-abrasive, subtle feel is perfect for added grip and bike control, meaning less fatigue for the rider. At 0.92mm thick, Tacky Grip pads have a thinner, lower profile than our BLOQ Ultimate and BLOQ Premium kits, but deliver great traction thanks to the tacky, rubber-like surface. Our BLOQ Tacky Grip range is our entry-level, budget-friendly kits, but still offer excellent performance. Featuring an embossed square pattern and finished in Black, they’ll look great on any bike!
BLOQ tank grips are suitable for everyone from the daily commuter, adventure bike rider, track-day enthusiast or world-class racer.
Full fitting instructions are included.
Kit Contents:
1 x Set of BLOQ tank grips.
1 x Alcohol cleaning wipe.
1 x Cleaning cloth.
1 x Squeegee card.
2 x 25mm domed badges.
BLOQ is part of the Speedo Angels family
Fitting Instructions:
Before starting, it is a good idea to offer up the grips onto the tank/tank area to get an idea of where the ideal placement for them is. A good tip is to use masking tape, to mark the best position for the top, bottom, or sides to give you a better chance of getting them placed in the ideal location.
- Using the included alcohol wipe, thoroughly clean the surfaces you are sticking the tank grips onto. Wipe off any residue left behind using the supplied cleaning cloth.
- Using a hair drier, or a heat gun (on a low heat!) warm both the tank grip and the surface you are sticking it to. This will help to activate the tank grip adhesive. Be careful to not apply too much heat to any paintwork, to avoid damaging it.
- When you are ready to fit the grips, start to peel back a small amount of the adhesive liner and gently place the tank grip onto the surface. Do not apply too much pressure at this point, to allow you to re-position if required.
- Once you are happy with the placement of the grip, continue to slowly pull back the liner, whilst at the same time applying pressure across the whole of the grip that is now stuck down. The adhesive relies on pressure to activate and a firm, uniform pressure across the whole grip is required to ensure it sticks correctly. Do not discard the liner, as this can be used in the next step.
- Using the liner you have just removed, wrap this around the squeegee supplied in your kit and apply pressure onto the tank grips to activate the adhesive. The liner is waxed, so easily glides over the tank grips, allowing you to apply uniform pressure.
We advise leaving at least 48 hours before using the motorcycle, to ensure the grip is fully adhered to the surface.
Cleaning: Simply wiping the grips down with a damp, lint-free cloth is usually enough to clean them. Try to avoid pointing pressure washers at the edges, to prevent them from lifting.
Removing: Our tank grips should be viewed as a permanent addition to your motorcycle. However, should you need to remove them, firstly warm part of the edge using a hair drier or heat gun (on a low heat setting) to soften the adhesive. You can then start to lift the tank grip. Continue applying heat to the adhesive and slowly peel away the tank grip. If any adhesive residue is left behind, you should be able to remove this using rubbing alcohol or specialist sticky stuff remover should the glue be a little more challenging to remove.


Reviews
There are no reviews yet